Creating an iNaturalist Account

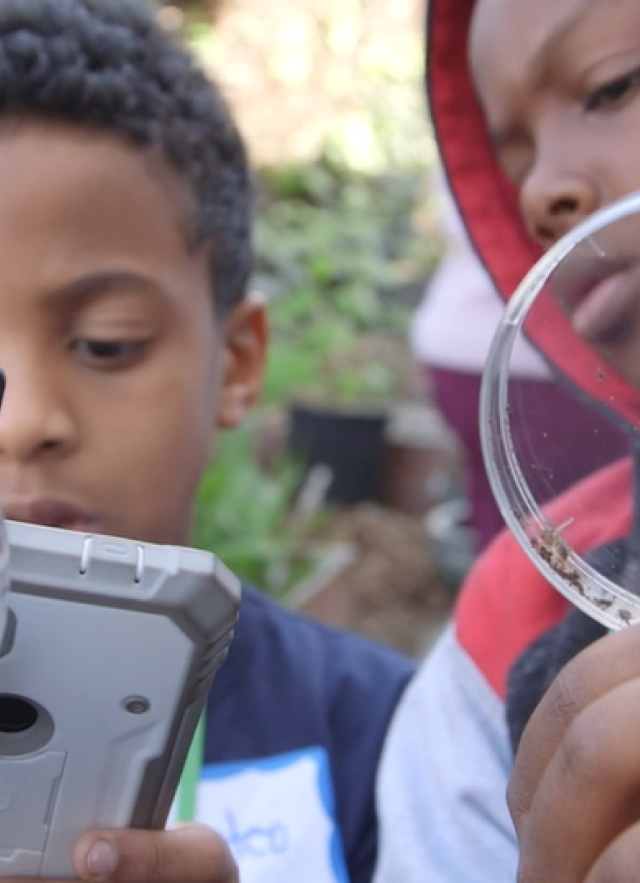
Two kids hold up petri dishes. One kid uses a cell phone to take a photograph of an insect inside of the petri dish.
Youth at Transfiguration Church used their new nature exploration tools to take photos of the insects they found. Photo Credit: Jordi Ruiz Maso

SUITABLE FOR GRADES 2-12

Overview

In this guide you will learn how to set up an iNaturalist account.

Duration

5-10 minutes to set up

Materials

  • Computer or smart phone
  • Connection to the internet
  • Email address

Activity

  1. Go to www.inaturalist.org
  2. Click on the "Sign Up" button
  3. Choose one of two options for joining: 

    Option 1: Create a username and password specific to iNaturalist. We recommend this for teachers, unless your classroom or school has a social media account. This prevents personal information from being connected to a project that students and parents will see. To choose this option, fill in the fields and click the "Sign Up" button.
    Option 2: Link an existing account to iNaturalist. If you have one, you can use one of the following accounts to sign into iNaturalist: Facebook, Twitter, Flickr, Google, Yahoo, or SoundCloud. To choose this option, click on the type of account you want to use for iNaturalist. Follow the prompts to sign into that account and/or give permission for iNaturalist to access it. Hint: To see what information iNaturalist will access, click on the grey circle with an "i". 
  4. Welcome, you are signed up! When an account has successfully been created (or linked), a welcome message indicating you have successfully signed up will appear at the top of the page in a yellow bar. Start uploading your observations! After signing up, you will be directed to your "Dashboard". This is your home base for your account. If you need more guidance, there's a "Getting Started Guide" on the right-hand side of your Dashboard. Have fun!